Introduction
Medical tape is a simple but essential tool in wound care. Whether you’re securing a dressing, protecting an incision, or supporting an injury, how you apply and remove tape makes a big difference in comfort and healing.
Application: How to Apply Medical Tape
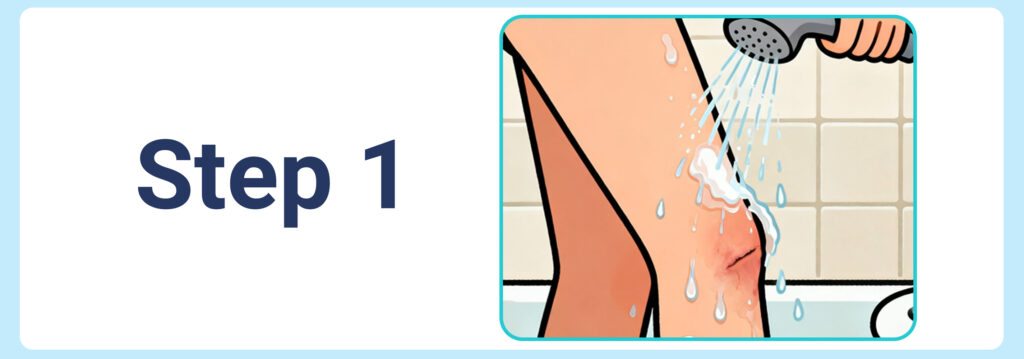
Step 1: Wash and Dry the Skin
Use mild soap and water to clean the area where the tape will be applied. Pat dry with a clean towel. Remove lotions or oils so the adhesive sticks well.
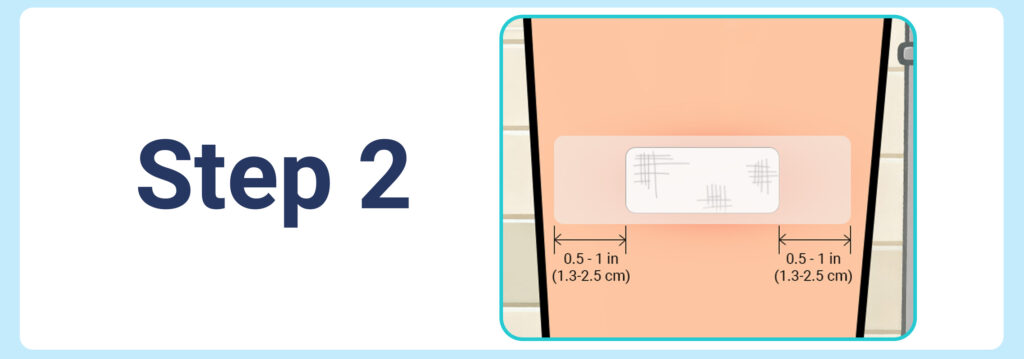
Step 2: Cut the Right Length
Measure a piece of tape that extends at least 0.5–1 inch (1.3–2.5 cm) beyond the dressing onto the skin. This helps secure it firmly.
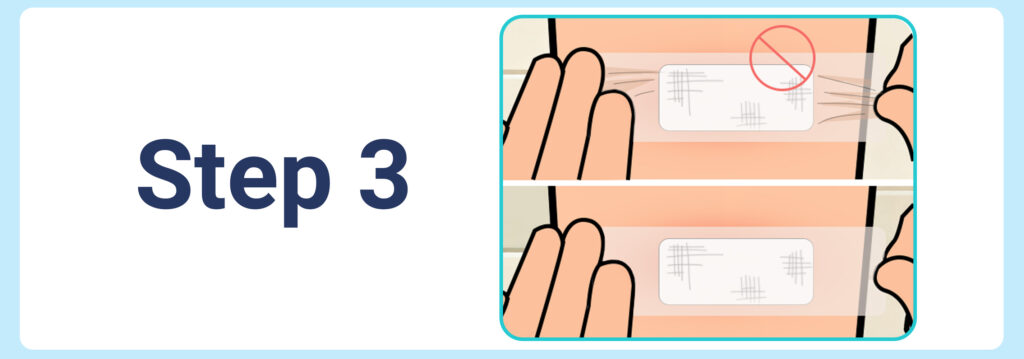
Step 3: Apply Without Tension
Place the tape gently on the skin without pulling or stretching it. Start at one end and smooth across to the other end. Stretching can cause irritation or blisters.
Step 4: Smooth Into Place
Rub the tape lightly in circular motions so it adheres to curves and contours of the body. This ensures better contact.

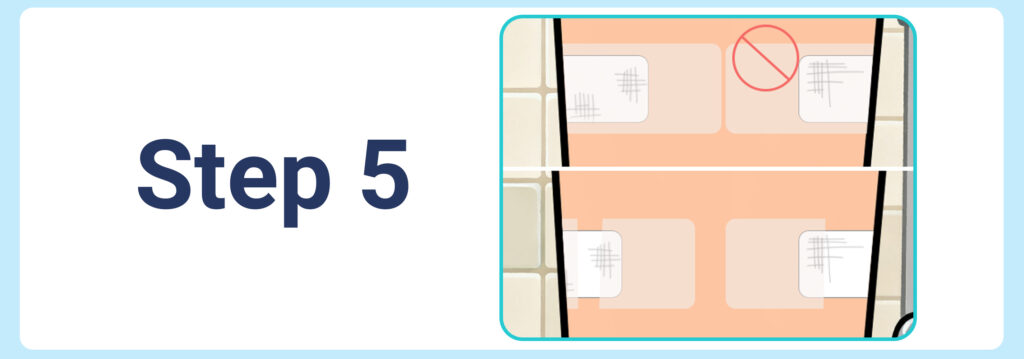
Step 5: Avoid Full Circles
Do not wrap tape entirely around a limb—it may restrict circulation if swelling occurs. Use separate strips instead.
Step 6: Watch for Swelling
If swelling develops under the tape, remove it carefully and reapply more loosely. Circulation should never feel restricted.

Step 7: Follow Medical Advice
If you’re using tape post-surgery, ask your doctor how long to leave it on and how often to replace it. In some cases, tape may stay for weeks to support healing and reduce scarring.

Removal: How to Take Off Medical Tape
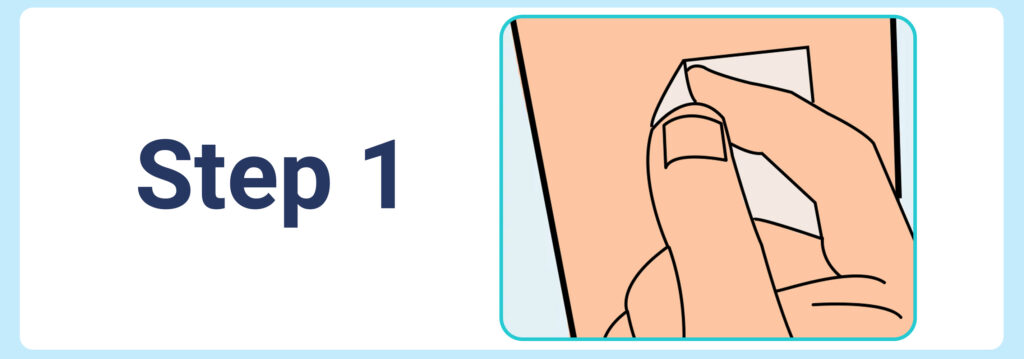
Step 1: Start at an Edge
Lift one corner of the tape carefully to loosen it.
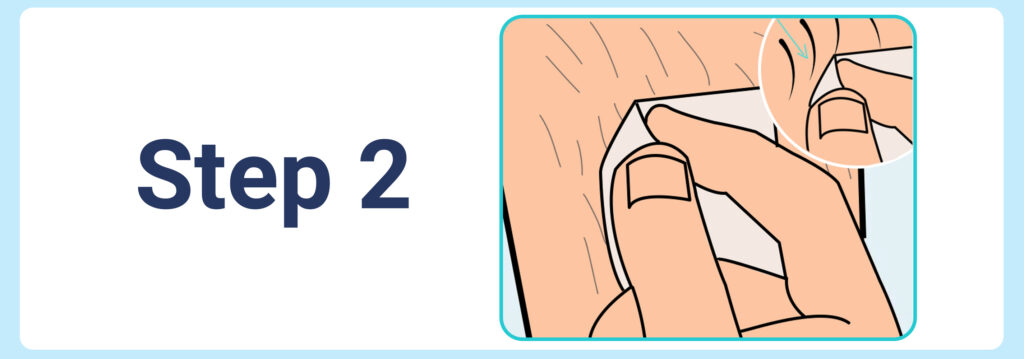
Step 2: Peel Slowly with Hair Growth
Remove the tape in the same direction as your hair grows. Move slowly to avoid skin irritation.
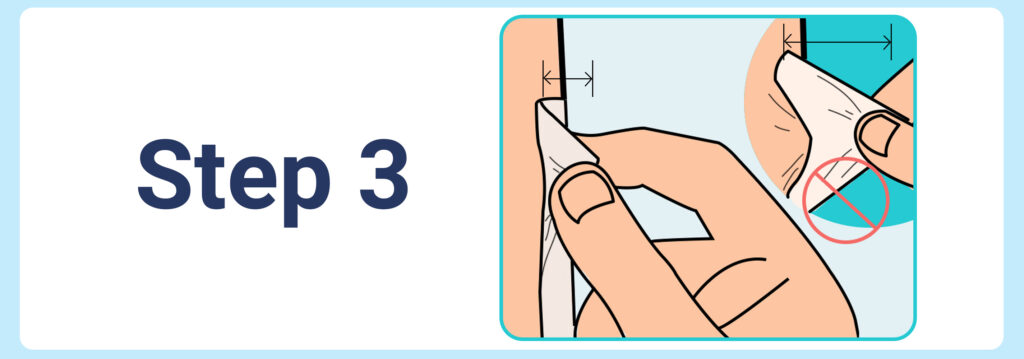
Step 3: Keep Tape Low to the Skin
Instead of pulling straight up, peel the tape back over itself while keeping it close to the skin. Support the skin with your fingers to reduce pulling.
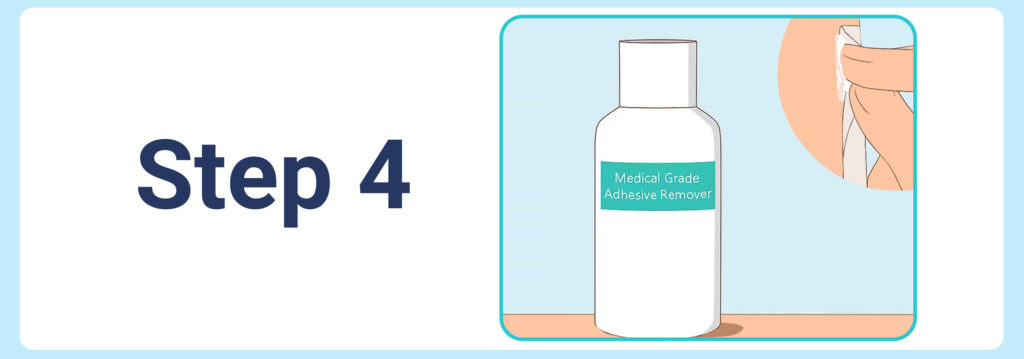
Step 4: Use Adhesive Remover if Needed
If the tape is difficult to remove, apply a medical adhesive remover or a moisturizer to help loosen it. Never rip tape off quickly, especially on fragile skin.
Tips for Difficult Areas
- Joints: Apply tape in the direction of natural movement (knees, wrists, ankles) to maintain mobility.
- Wounds: Ensure the tape holds the dressing in place but never applies direct pressure to the wound.
- Hairy Skin: Trim hair if needed (avoid shaving) to improve adhesion.
- Sensitive Skin: Use a barriaer wipe to protect the skin before taping.
If you notice redness, itching, or irritation, remove the tape promptly and consult a healthcare professional.
Can You Shower With Medical Tape On?
The answer depends on the type of tape.
- Water-resistant options (such as retention tapes or certain self-adhering wraps) may tolerate light moisture.
- Standard cloth or surgical tapes usually lose adhesion when wet and should be kept dry.
Tips if showering with tape:
- Cover the area with a waterproof shield or plastic wrap.
- Seal edges tightly with waterproof bandages.
- After showering, gently pat dry and check adhesion. Replace the tape if it starts peeling.
- Once you’ve cut the tape, try not to touch the sticky side to make sure the adhesive works well.
How to Make Medical Tape Last Longer
- Start with clean, dry skin. Avoid lotions or oils before application.
- Lay tape gently; do not overstretch.
- Re-press peeling edges instead of adding more tape on top.
- Store tape in a cool, dry place in original packaging.
- Remove carefully by peeling slowly while supporting the skin.
When to Replace Medical Tape
Replace tape when:
- It becomes loose, dirty, or wet.
- Skin underneath shows redness, itching, or soreness.
- The dressing needs changing.
- For supportive wraps (like a sprain), change daily or once adhesion is lost.
Types of Medical Tape and When to Use Them

Non-Woven Surgical Tape – Gentle & Breathable
Non-Woven Surgical Tape is soft, breathable, and easy to tear, making it ideal for fragile or sensitive skin. It’s perfect for patients who need frequent dressing changes.
👉 Try our Non-Woven Surgical Tape, designed for secure fixation with minimal irritation.
Transparent Tape – Easy Monitoring
Clear tape lets you observe the skin or wound without removing the dressing. It conforms well to body curves and is often used around IV sites.
👉 Discover our Transparent surgical tape for reliable adhesion and visibility.
Silicone Tape – Gentle Removal for Delicate Skin
Silicone tape is designed for patients with fragile or sensitive skin. It adheres securely yet removes without pain or trauma, making dressing changes more comfortable.
👉 Explore our Silicone Tape for skin-friendly wound care.
Conclusion
Correct application of medical tape helps keep dressings secure, supports healing, and protects sensitive skin. By choosing the right type and following best practices, you can improve comfort and reduce complications.